


We are so lucky to host Sumo, from Sumo’s Sweet Stuff today here at Dandy Giveaway! Here’s Summer:

Â
Â
Hello everyone!
I’m so excited to be guest blogging here today!
I’m Sumo, from Sumo’s Sweet Stuff!


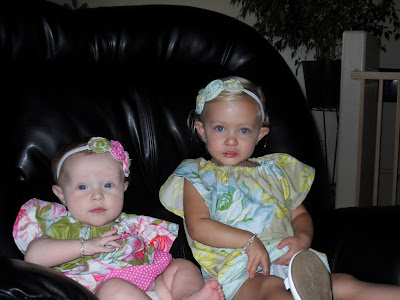
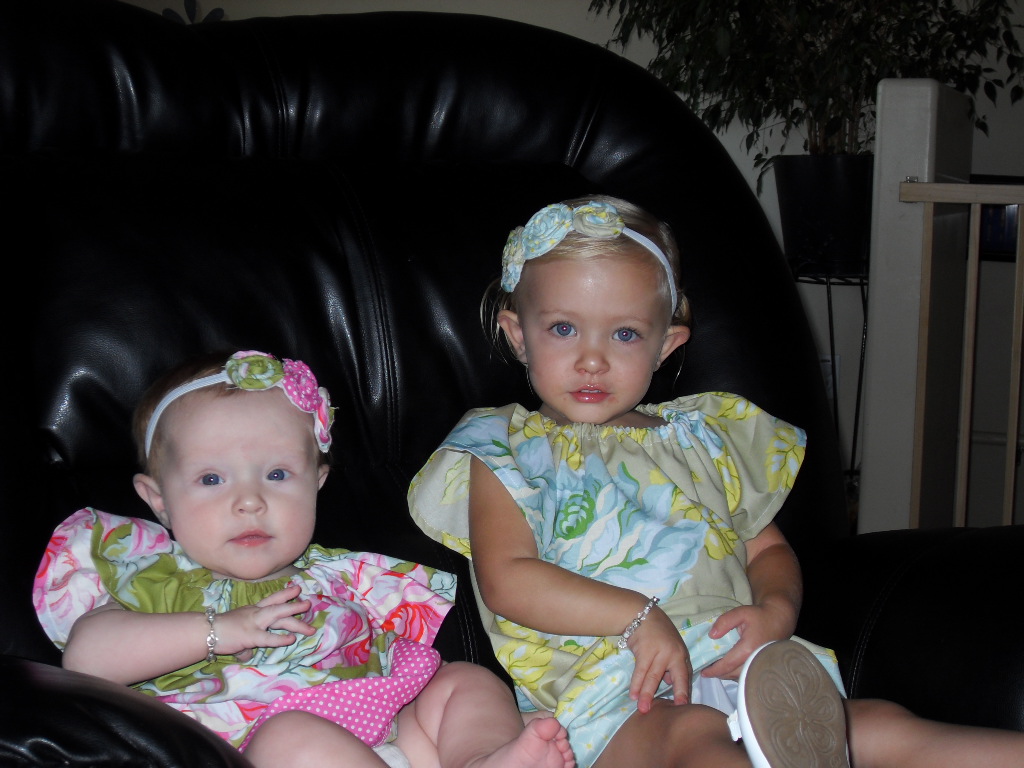
My real name is Summer, but my husband nicknamed me Sumo when we were dating. (Should I be offended?) Now he’s got all of my family, as well as lots of our friends, calling me Sumo. I think Aunt Sumo sounds pretty great, don’t you? I live in Utah with my husband, and our two beautiful daughters – Reece & Remi!
Â
Â
Growing up, I never used to be all that domestic or crafty, so I think no one is more surprised than my mom at how I’ve ended up where I am today! I started Sumo’s Sweet Stuff last May as a place to keep some of my crafting projects so that my personal blog wasn’t overrun with them. Somehow, that developed into a place to host giveaways, share tutorials, share recipes, and feature fellow bloggers’ ideas and blogs! I also use my blog to promote my etsy shop, so if you’re ever in the market for some baby girl accessories, come on over! Every Monday is Market Yourself Monday, where you can link up your latest projects, and visit other blogs to get some inspiration!

Â
Â
Hello everyone!
I’m so excited to be guest blogging here today!
I’m Sumo, from Sumo’s Sweet Stuff!
My real name is Summer, but my husband nicknamed me Sumo when we were dating. (Should I be offended?) Now he’s got all of my family, as well as lots of our friends, calling me Sumo. I think Aunt Sumo sounds pretty great, don’t you? I live in Utah with my husband, and our two beautiful daughters – Reece & Remi!
Â
Â
Growing up, I never used to be all that domestic or crafty, so I think no one is more surprised than my mom at how I’ve ended up where I am today! I started Sumo’s Sweet Stuff last May as a place to keep some of my crafting projects so that my personal blog wasn’t overrun with them. Somehow, that developed into a place to host giveaways, share tutorials, share recipes, and feature fellow bloggers’ ideas and blogs! I also use my blog to promote my etsy shop, so if you’re ever in the market for some baby girl accessories, come on over! Every Monday is Market Yourself Monday, where you can link up your latest projects, and visit other blogs to get some inspiration!
Â
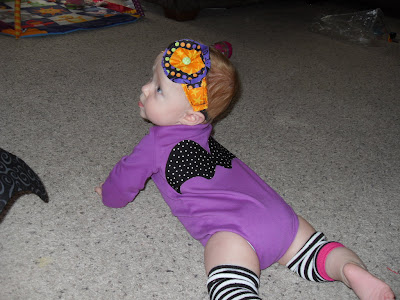
Today I’m going to be sharing a tutorial with you for how to embellish your kids’ Halloween shirts with bat wings!
Â
After my daughter Remi was born this past March, I made her a butterfly wing onesie.
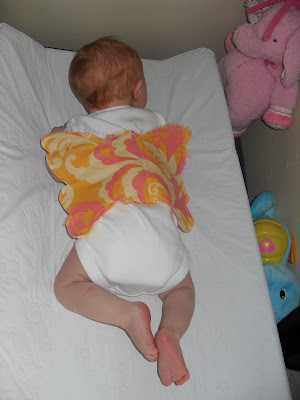
I thought it would be fun to put a Halloween spin on that idea: bat wings!
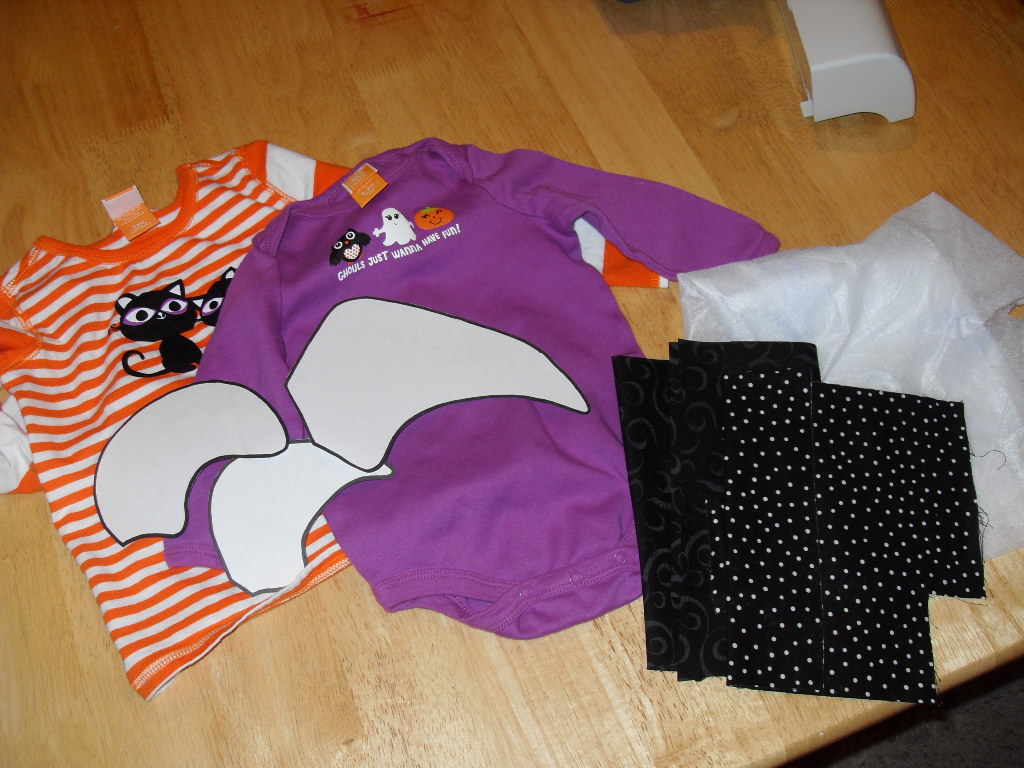
Last year I purchased Halloween shirts from Target during the post-Halloween clearance sale for super cheap. I had thought about getting them new shirts to put the bat wings on, but then I figured their Halloween shirts would actually be perfect!
What you need:
– shirt/onesie
– fabric
– heat and bond (if you are putting wings flat on the shirt)
– interfacing (if you are putting wings that hang off the shirt)
– wing template (I looked at some pictures online and free handed mine)
– iron
– sewing machine/accessories
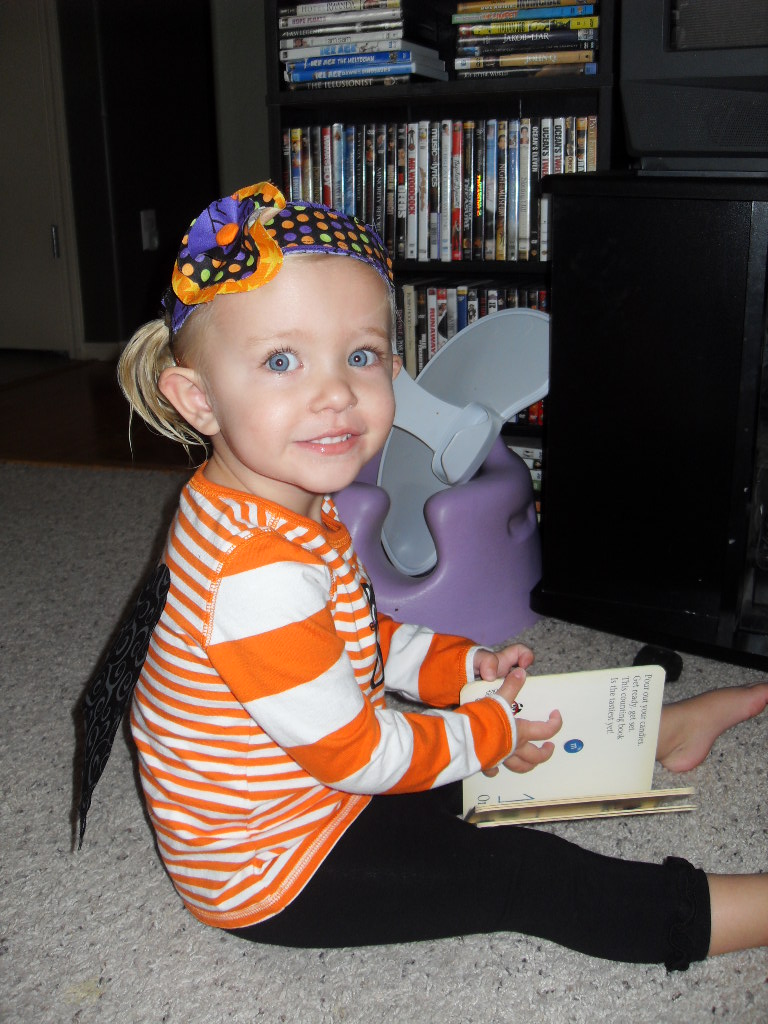
We’ll start off with Reece’s shirt. I wanted her wings to hang off of her shirt since she is mobile and can (obviously) sit, stand, and walk on her own (unlike the little Remster.)
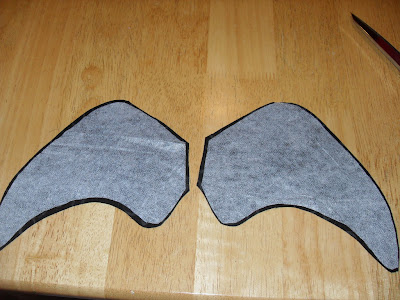
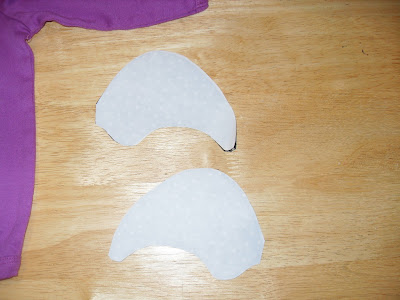
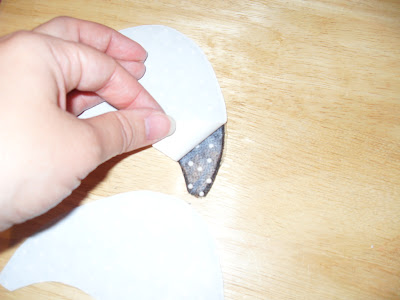
Start off by tracing your template on the interfacing. You’re going to need two.
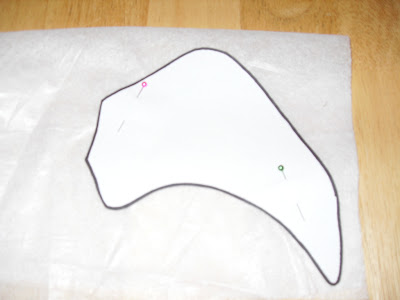
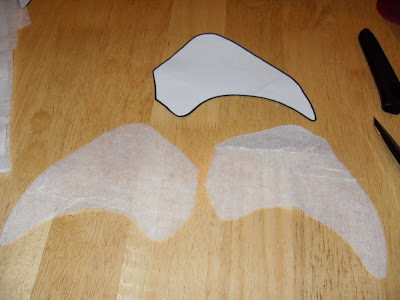
Next you’ll want to trace your template on your fabric. You’re going to need four wings total since you’ll be having a front and back. I cut a bit outside of the template so that my interfacing would fit in between the layers easily.
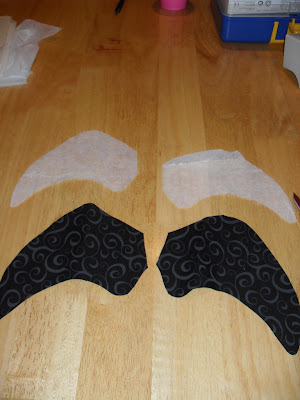
Take your interfacing and iron it on to two of your wings.
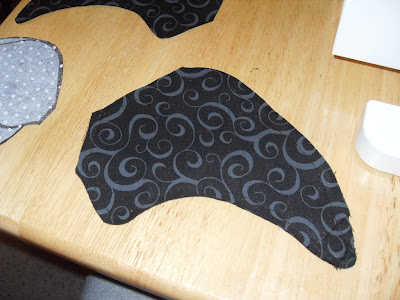
Next you’ll want to sew the top layer of your wings on to your interfaced wings.

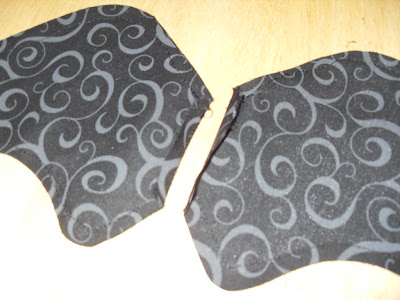
After that, iron down small folds on your wings. This is where you’re going to sew the wings on to the shirt.
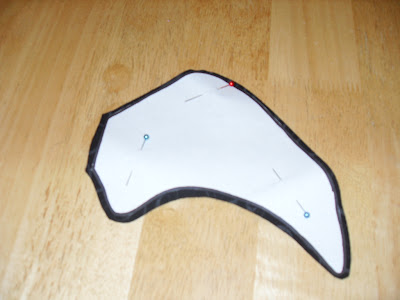
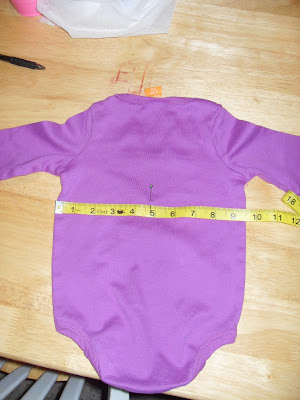
Take your shirt and measure the width. Place a pin where the middle of the shirt is. This is where you’ll sew your wings.
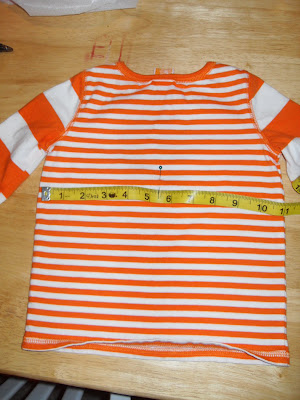
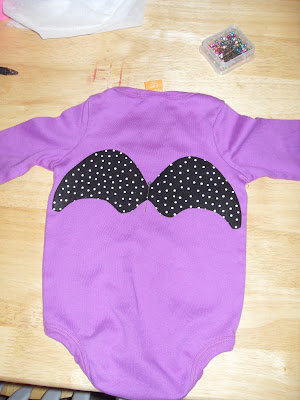
Pin your wings on to the shirt.
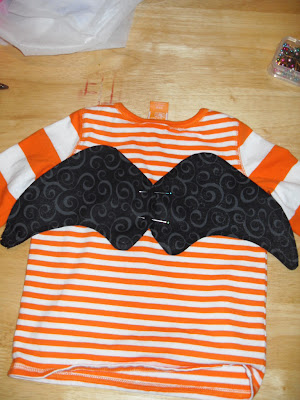
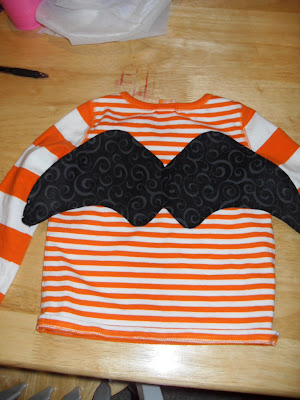
Sew the wings on to the shirt and you’ve got your little bat ready to go!


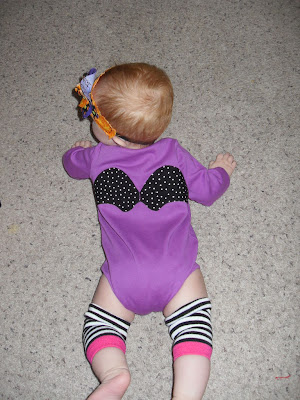
I did a different option for Remi. I just wanted her wings to be flat on her onesie.
You’ll want to iron on some heat and bond to a piece of your fabric. (I didn’t take a picture of this step for some reason!)
Trace your wing template on to your paper side of the heat and bond and cut out your wings.
Take your tape measure and find the middle of your onesie.
Take the paper backing off of your wings and place them on the onesie where you want them to go.
Iron them on.
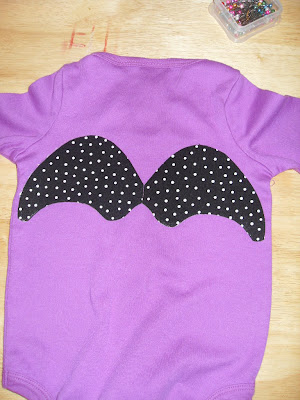
Sew around the edges.
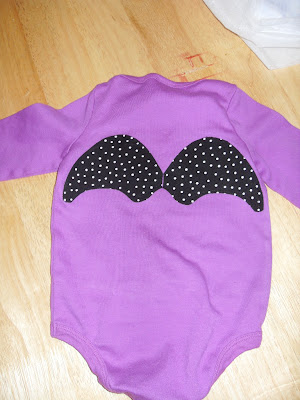
And your other little bat is ready to go!
Â
Cute, fun, unique Halloween shirts!
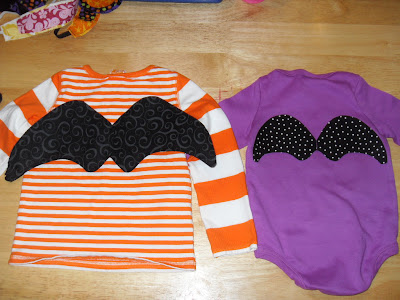
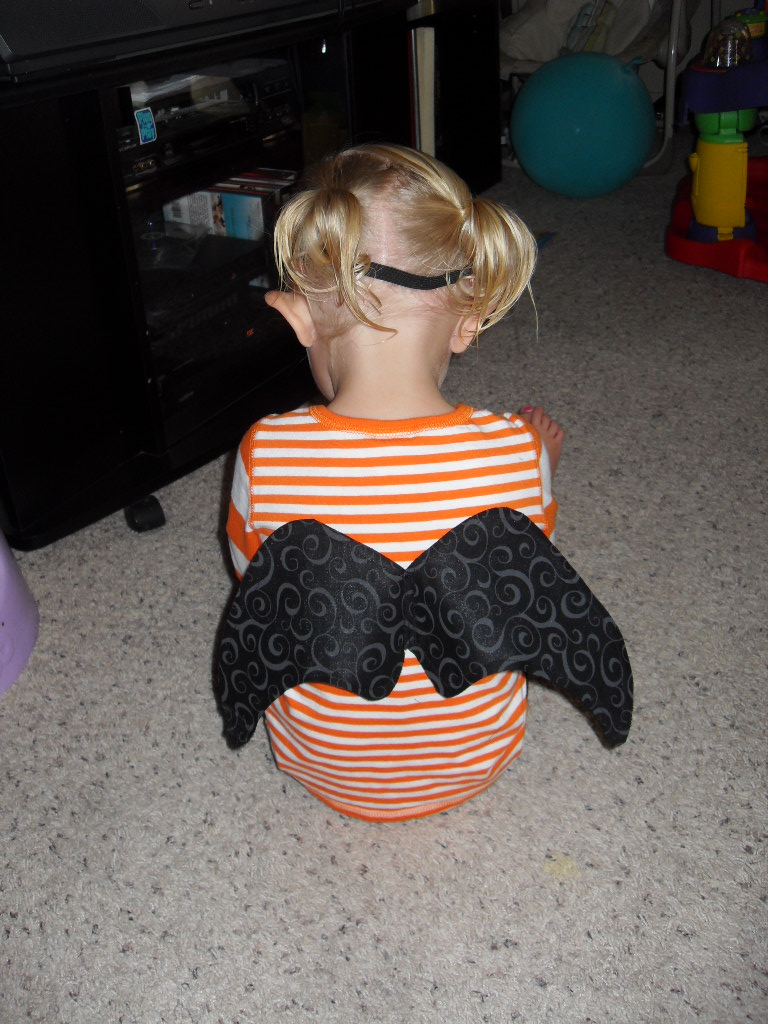
And even cuter when on your sweet little ones!
Â

If you have a little guy, a fun way to do the wings would be to have them extend from under his arm to his side (does that make sense?) Maybe that would seem more boy-ish.
I hope you enjoyed the tutorial! Enjoy turning your little ones into bats!
Come visit me at Sumo’s Sweet Stuff anytime for more tutorials, recipes, and ideas!
 ![]()
Thank you Summer! I love this bat shirt — I think it’s equal parts hilarious and adorable. I will be making one for my own little guy for Halloween for sure — I just hope it’s as cute as hers. We’ll see, huh?Â


